Who doesn’t love a candy bar? It's like a sweet wonderland that adds a burst of fun and color to any gathering. Whether you’re hosting a birthday bash, holiday celebration, or a casual family get-together, a DIY candy bar is not just a treat but a centerpiece that everyone will enjoy. Let’s dive into how you can set up a fabulous candy bar that will have your guests smiling and indulging in their favorites!
1. Choosing the Right Candy
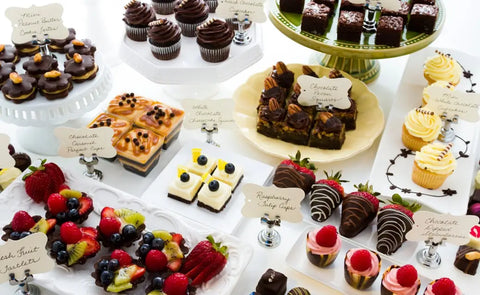
Start by picking out candies that match the vibe of your event. Think of your party’s theme and color scheme—this can make your candy bar look like it’s straight out of a magazine. If you’re throwing a beach-themed party, go for candies in shades of blue and white to echo the oceanic feel.
Make sure to mix up the flavors to cater to all tastes. From chocolates and gummies to hard candies and sour treats, variety is key. If it’s a holiday party, consider seasonal goodies—heart-shaped candies for Valentine’s Day or pastel-colored sweets for spring. A colorful, flavorful mix will not only be delicious but visually stunning!
2. Gathering Essential Supplies
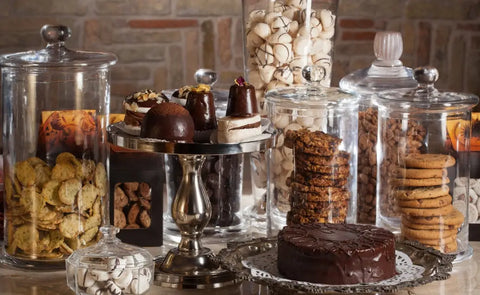
Your candy bar will need some essentials to look and function beautifully. Start with clear jars or decorative boxes—they’re perfect for showcasing your candies and add a touch of elegance. Opt for varying sizes and heights to create visual interest and make it easier for everyone to reach their favorites.
Don’t forget scoops and tongs! These are crucial for hygiene and allow guests to serve themselves without hassle. Choose utensils that fit your theme for a polished look. And of course, provide bags or small boxes for guests to take home their favorite treats. Cute paper bags or themed takeaway boxes will ensure everyone leaves with a sweet memory!
3. Setting Up the Candy Bar Table
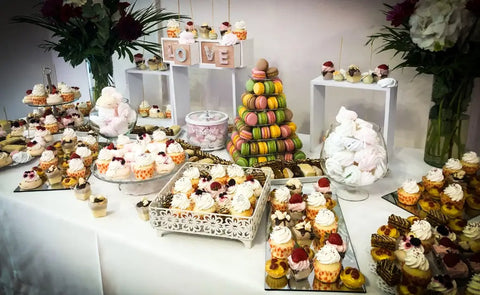
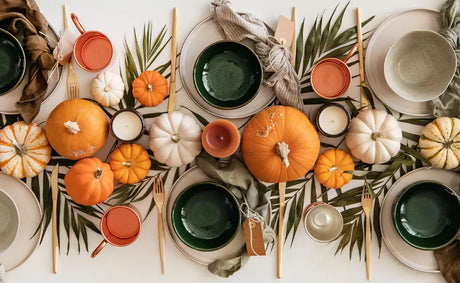
Now, let’s talk about setup. Choose a table that’s spacious enough to hold all your candy and accessible for guests. Cover it with a tablecloth or runner that complements your party’s theme—this adds a festive touch and sets the stage for your candy display.
Arrange the candy in an eye-catching way: taller containers in the back, shorter ones in front. This layout not only looks great but makes it easier for guests to reach their desired treats. Group similar candies together and use risers or crates to add some height and dimension.
Signage and labels are also a must! Use chalkboard signs or printed labels to identify each candy. Make sure to mark any allergens, so everyone can enjoy it without worry.
4. Incorporating Decorative Elements
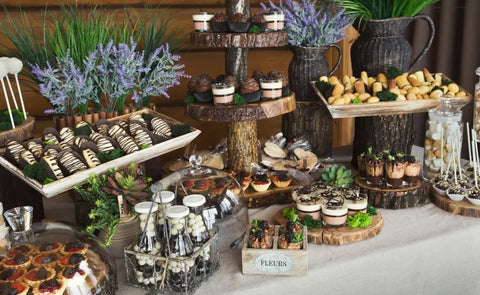
To make your candy bar truly stand out, add some thematic decorations. Think of banners, balloons, or garlands that fit your party’s style. These decorations will tie the candy bar into your overall décor and make it a focal point.
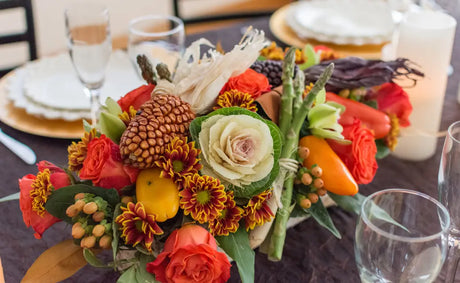
Lighting can also work wonders. String lights or candles with aesthetic candle holders can create a cozy and inviting atmosphere, drawing attention to your candy bar. Add some floral arrangements or greenery for an elegant touch—seasonal flowers or plants can complement the candy bar beautifully.
5. Adding Personalized Touches
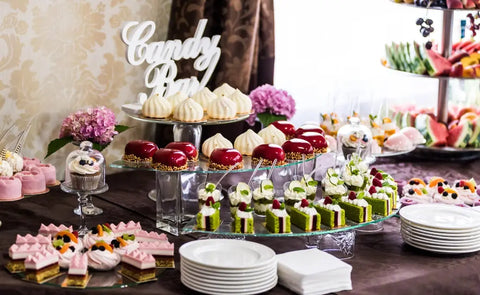
Here’s where you can get creative! Personalize your candy bar with custom labels and tags. You might include the guest of honor’s name or match the labels to your party theme. These little details add a unique flair that everyone will appreciate.
Consider using monogrammed containers or jars with custom decals for a touch of sophistication. You can even wrap candies in themed wrappers that match your party’s aesthetic. For extra fun, set up a “mix and match” station where guests can create their own candy bags or play a guessing game about how many candies are in a jar. It’s a playful way to engage everyone and add an interactive element!
6. Ensuring a Balanced Candy Selection
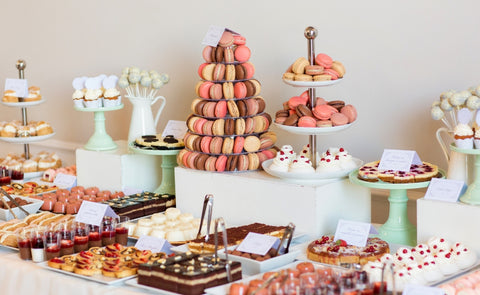
Keep your candy bar balanced by offering a variety of treats. Include sweet, sour, and chocolate options to cater to different preferences. Adding healthier choices like dried fruits or sugar-free candies ensures there’s something for everyone.
Estimate how much candy you’ll need based on your guest count and event duration. Having a bit extra on hand is always a good idea for refills and to keep the candy bar looking full and inviting throughout the event.
7. Creating a Flow for Guests
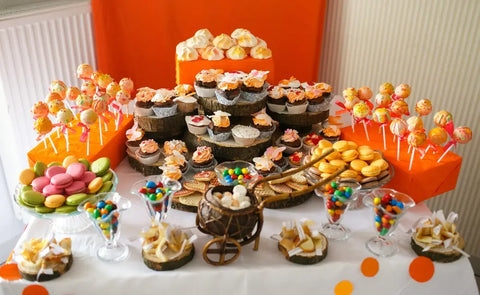
Think about the flow of your candy bar to make it easy for guests to enjoy. Place it in an open area where people can gather without causing a traffic jam. If space allows, make the candy bar accessible from all sides to avoid crowding.
A welcome sign or simple instructions at the candy bar can guide guests on how to help themselves. Having a friendly person at the candy bar to assist and keep things tidy can add a personal touch and ensure a smooth experience for everyone.
8. Maintenance and Clean-Up Tips
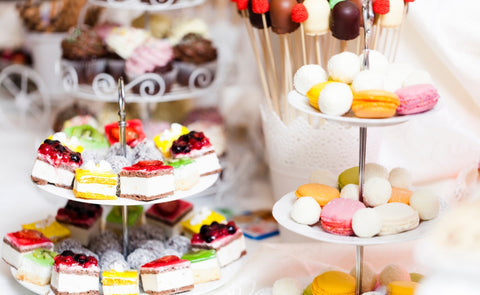
During the event, keep an eye on your candy bar. Refill any empty containers, clean up spills, and keep everything looking fresh. A tidy candy bar will keep guests happy and make your setup look polished.
After the party, think about what to do with any leftover candy. Pack it into small bags for guests to take home, donate, or save it for future events. For clean-up, make a checklist: store reusable containers, dispose of trash, and pack up decorations. A little planning will make clean-up quick and hassle-free.
Conclusion
Before your guests arrive, take a final look at your candy bar setup. Make sure everything is in place, looks fabulous, and fits with the rest of your party décor. A DIY candy bar isn’t just a sweet treat—it’s a chance to showcase your creativity and make your event unforgettable. Have fun with it, enjoy the process, and watch as your guests delight in the colorful, delicious spread you’ve created!
Check our collection of home party decors to add a special touch to your upcoming event or celebration. Shop now and discover unique pieces that will make your occasion unforgettable!


