DIY crafting parties are becoming more and more popular, and it’s easy to see why! These types of gatherings are a great way to bring friends together, have fun, and let your creativity shine. Whether you’re making party decorations, gifts, or personalized keepsakes, crafting with others adds a special touch to any get-together.
In this guide, we’ll walk you through everything you need to know to plan the perfect DIY crafting party. From choosing the right materials to organizing activities and creating a cozy atmosphere, we’ve got you covered. With the right preparation, your DIY party will be an event to remember!
1. Choosing a Theme for the Crafting Party
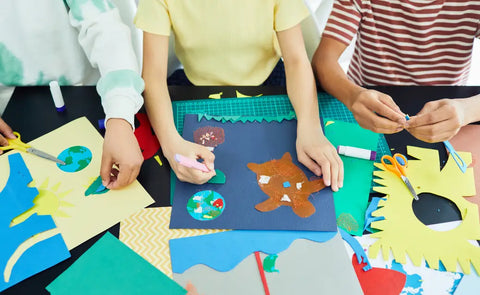
Selecting a theme is one of the most important steps in planning a DIY crafting party. A good theme helps set the mood for the event and makes it easier to choose the crafts, decorations, and even snacks! For example, you could pick a theme based on the season, like making holiday decorations, or go with something fun like personalized gifts or eco-friendly crafts. The theme will guide the overall look and feel of your party, making it more organized and exciting.
When deciding on a theme, think about your guests. What are their interests, and what skill levels do they have? You want everyone to feel included and capable of making something special. For instance, if your friends enjoy the holidays, you can make festive crafts for Christmas or Halloween. If they prefer simple projects, choose a theme with easy-to-make items. By choosing a theme that suits your group, you’ll ensure everyone has a great time crafting together!
2. Craft Selection and Material Preparation
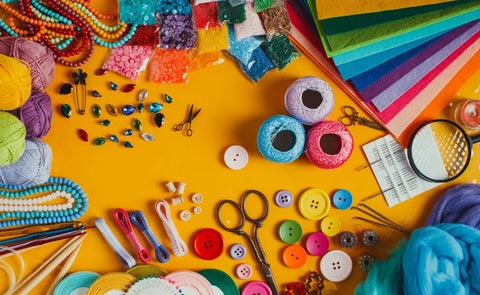
Choosing the right crafts for your DIY crafting party is key to making sure everyone has a fun and successful time. The crafts you select should fit with the party’s theme and be simple enough to complete within the time you have. It's important to think about your guests’ skill levels too. For example, if your theme is "eco-friendly crafts," you could have everyone make reusable bags or upcycled decor. If you're hosting a holiday-themed party, simple holiday ornaments or personalized gift tags could work well. Keeping the crafts easy but fun will help everyone enjoy themselves without feeling overwhelmed.
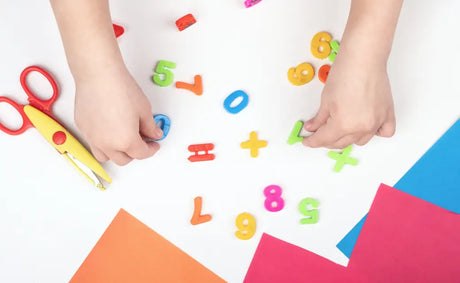
To avoid any stress on the day of the party, it's best to gather all the materials and tools in advance. Create a checklist of everything you'll need, like scissors, glue, paints, crayons, and the specific items for the chosen craft (fabric, paper, beads, etc.). You can save money by buying materials in bulk or using things you already have at home, like old jars, fabric scraps, or buttons. Being well-prepared means you can focus on having fun with your friends rather than scrambling to find supplies last minute!
3. Inviting Friends and Setting the Date
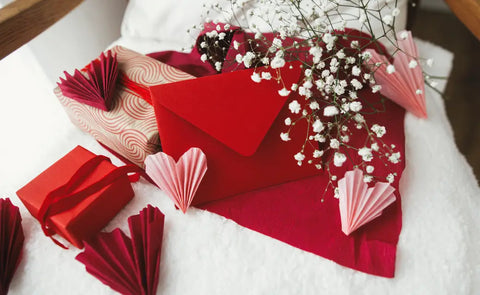
When planning a DIY crafting party, inviting friends and picking the right date is important to make sure everyone can join in on the fun. First, choose a date that works well for your guests. Try to pick a time when most people are free, like a weekend or during school holidays, so everyone can come. Send out the invitations early, either through text, email or even a fun handmade invite to match your crafting theme!
It’s also important to tell your guests what to expect. Let them know the theme of the party and what kinds of crafts you'll be making. This will help them get excited and even think of ideas in advance. Plus, it's a good way to see if they have any allergies or preferences, especially if you’re using certain materials. By planning the date and inviting your friends ahead of time, you’ll set the stage for a successful, stress-free crafting party!
4. Setting Up the Crafting Space

To make your DIY crafting party fun and comfortable, it's important to set up the crafting space just right. Start by arranging the tables and chairs so everyone has enough room to work on their projects without feeling cramped. You can create separate crafting stations for different projects or tools, making it easier for guests to move around and stay organized. Make sure there’s plenty of light so everyone can see their work.
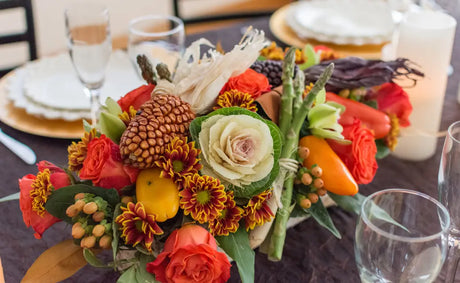
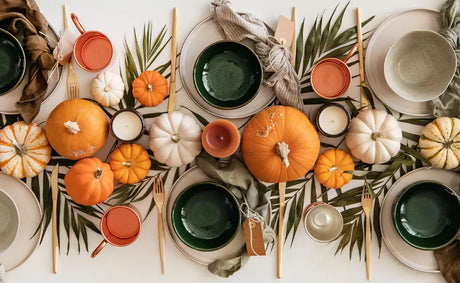
Decorating the space to match your theme will make the party even more special! Use themed tablecloths, banners, and centerpieces that fit with the type of crafts you’re making. For example, if you're hosting a holiday-themed party, use decorations like pumpkins, Christmas ornaments, or colorful leaves. These little touches will make the crafting space inviting and help everyone get into the creative spirit!
5. Planning Refreshments and Snacks
Crafting can make everyone hungry, so it's a good idea to plan some fun, easy-to-eat snacks that match your party theme! You could serve finger foods like mini sandwiches, fruit skewers, or themed cupcakes that are simple to enjoy while working on crafts. For drinks, consider offering craft-inspired mocktails or colorful punch that adds to the creative vibe of the party. These little details can make your event more memorable and enjoyable.
To keep things organized, set up a self-serve refreshment station where guests can grab snacks and drinks without interrupting the crafting fun. You could label the food items with fun, themed names to keep everything tied to your party’s theme. This way, your guests can grab a bite whenever they want, and you can stay focused on hosting a great crafting party!
6. Leading the Crafting Activities

As the host, it’s important to guide your guests through the crafting process so everyone feels comfortable and confident. Start by explaining the steps clearly, making sure each person has the materials they need. You could even demonstrate some techniques to show how it's done. If anyone needs help, be ready to step in and offer guidance, keeping the group engaged and on track.
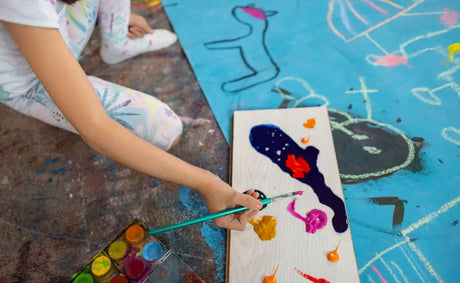
Encourage your guests to get creative and add their personal touch to their crafts. Let them know it’s okay to make their projects unique! Simple ideas like choosing different colors, patterns, or decorations can make each craft special and reflect everyone’s style. The goal is for everyone to have fun and take home something they’re proud of!
7. Wrapping Up and Displaying Finished Crafts

As the crafting fun comes to an end, it's time to wrap up and admire everyone's creations. You can set up a display area where guests can show off their finished crafts. This gives everyone a chance to appreciate each other’s work and see the creativity that went into each piece.
Encourage guests to take photos of their crafts to capture the memory. If they’d like, they can also swap tips and ideas for future projects. Wrapping up with this kind of showcase is a great way to finish the party on a high note and leave everyone feeling proud of their creations!
Conclusion
Hosting a successful DIY crafting party is all about careful planning, creativity, and attention to detail. By choosing a fun theme, selecting the right crafts, preparing materials in advance, and setting up a welcoming crafting space, you’ll create an event that everyone will enjoy. Don’t forget to provide tasty snacks, guide guests through the crafting activities, and display the finished crafts to celebrate everyone’s hard work.
Now, it's your turn! Use these tips to plan your DIY crafting party with friends. Enjoy the excitement of creating handmade items and making lasting memories together in a fun and creative setting.
Check our collection of home party decors to add a special touch to your upcoming event or celebration. Shop now and discover unique pieces that will make your occasion unforgettable!

