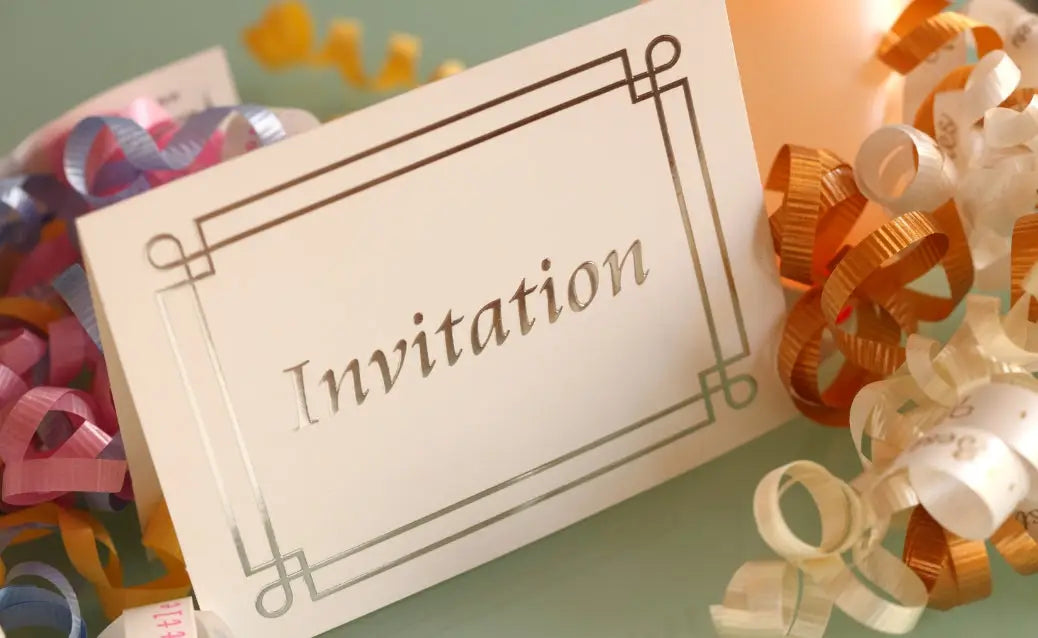
Creating your own party invitations is a special way to show your guests how much you care. When you take the time to make handmade invitations, you're adding a personal touch that can’t be found in store-bought ones. Each card becomes a unique piece, tailored to fit the theme of your event, making your guests feel truly valued and excited about attending.
Besides being thoughtful, making your own invitations is also a smart choice for your budget. Instead of spending money on pre-made cards, you can use your creativity to design something that perfectly matches your party's style. Plus, it's a fun and rewarding activity that lets you express yourself while keeping costs low. Whether you’re planning a birthday bash or a cozy gathering, handmade invitations can set the perfect tone for your event.
1. Gathering Materials and Tools

Before you start creating your own party invitations, it's important to gather all the materials and tools you'll need. Here's a list of essential supplies:
Basic Materials
- Cardstock: This is a thick paper that forms the base of your invitation. Choose a color that matches your party theme.
- Envelopes: You'll need these to send out your invitations. Make sure they fit the size of your cardstock.
- Scissors: For cutting your cardstock and other decorative elements.
- Glue or Double-Sided Tape: To stick everything together securely.
- Decorative Items: Think of ribbons, stickers, stamps, or even glitter to add some flair to your invitations.
Optional Materials for More Creative Designs
- Stamps and Ink Pads: Great for adding patterns or designs without much effort.
- Stencils: To help you create neat shapes or letters.
- Markers or Colored Pencils: For adding personal touches or writing messages.
If you want to take your design to the next level, consider using design software or templates. Tools like Canva or Adobe Spark are user-friendly and perfect for beginners. They offer a variety of templates that you can customize with your own text and images. You can find both free and paid templates online, making it easy to find something that fits your style and budget.
For those who care about the environment, using eco-friendly materials is a great option. Consider using recycled paper or sustainable materials for your invitations. These options not only help the planet but also add a unique, earthy touch to your designs. You can find eco-friendly supplies at most craft stores or online. Get creative with how you use these materials—maybe add a natural element like a pressed flower or a piece of twine to your invitation for an extra special touch.
2. Designing Your Invitations

Deciding on a Theme and Color Scheme
First, think about the theme of your party. Is it a birthday, wedding, or baby shower? The theme you choose should reflect the event. For example, a birthday party for a child might have a fun and playful theme, while a wedding might be more elegant and sophisticated. Once you have a theme, pick a color scheme that matches it. Colors can set the mood—bright colors for a lively event or soft pastels for a calm, relaxed atmosphere. Stick to your chosen colors across all your invitations to keep everything consistent.
Creating a Layout and Typography
Next, plan the layout of your invitation. It’s important to make sure everything is balanced and easy to read. Start with the basics: the date, time, and location of your event should be clear and stand out. Choose fonts that match your theme. For example, a fancy script might be perfect for a wedding, while a playful, bold font could work well for a kid’s party. When combining different fonts, stick to two or three so your design doesn’t look too busy. Make sure the text size is large enough to read easily, especially for important details.
Adding Personal and Decorative Elements
Finally, add some personal touches to make your invitations unique. You could include hand-drawn illustrations, a special photo, or even try your hand at calligraphy. If you want to go the extra mile, think about adding decorative elements like foil accents, embossing, or lace trims. These details can make your invitation look and feel special, showing your guests how much thought you’ve put into your event.
3. Crafting and Assembly

Printing Your Invitations
You have two options for printing your invitations: doing it at home or using a professional printing service.
- Printing at Home: This can be a cost-effective choice. Make sure to use high-quality cardstock and adjust your printer settings for the best print quality. Check that your printer can handle the paper size and type you’re using. It’s a good idea to do a test print first to see how the colors and layout look. If you’re unsure about settings, look for guides online or check your printer’s manual for help.
- Professional Printing: If you prefer a polished, professional look, consider using a printing service. Prepare your files according to the printer’s specifications, and make sure they’re in the correct format (usually PDF). Contact the printer to discuss your needs and confirm details like paper type and color accuracy.
Cutting, Folding, and Assembling
After printing, you’ll need to cut and fold your invitations neatly.
- Cutting: Use a paper trimmer or a sharp pair of scissors to cut your invitations to the right size. For a cleaner look, a paper trimmer is usually best because it gives straight, even edges.
- Folding: For perfect folds, use a bone folder, which helps create crisp, smooth lines. Fold carefully to avoid creases and wrinkles.
- Assembling: If your invitations have multiple layers or include extra pieces like RSVP cards, arrange them in the correct order. Use glue or double-sided tape to stick everything together. For a neat finish, make sure all pieces align properly.
Adding Final Touches
Enhance your invitations with some finishing touches to make them stand out.
- Ribbons and Seals: Tie a ribbon around the invitation or use a wax seal to add a touch of elegance.
- Stickers and Embellishments: Stickers or decorative elements can add extra flair.
4. Addressing and Sending Out Invitations

Choosing the Right Envelopes
Start by picking envelopes that match your invitation design. The size should fit your invitation snugly, so it doesn’t slide around. Choose a color that complements your design—if your invitation is colorful, a neutral envelope might work best. If your invitation is simple, a bold-colored envelope could add a pop of excitement. Consider the material too; thicker paper can give your invitation a more luxurious feel.
Addressing Tips and Etiquette
Addressing the envelopes is an important step. For a polished look, you can use calligraphy or print labels with neat, clear fonts. When addressing guests, be mindful of the event’s formality. For formal events, use titles like "Mr." or "Mrs." and write full names. For informal events, first names might be just fine. Double-check that you’ve spelled everyone’s names correctly, as it shows care and respect for your guests.
Mailing Considerations
When it comes to mailing your invitations, there are a few practical things to keep in mind. Make sure you have the right postage for your envelopes, especially if they’re heavier or larger than usual. Plan to send out the invitations well in advance—about 4 to 6 weeks before the event—so your guests have plenty of time to RSVP. If your invitations have delicate decorations, consider using padded envelopes or small boxes to protect them during mailing. This extra step can prevent any damage and ensure your invitations arrive in perfect condition.
5. Tips for Success and Troubleshooting

Creating your own invitations can be fun, but it’s important to avoid common mistakes and plan. Here are some tips to help you succeed and troubleshoot any issues:
Common Mistakes to Avoid
- Wrong Paper Type: Using the wrong paper can affect how your invitations look and feel. Make sure you choose paper that matches the design and is suitable for printing.
- Too Much Information: Don’t overcrowd your invitation with too much text. Keep it clear and simple. Use design grids or templates to help keep everything balanced and easy to read.
- Unreadable Text: Ensure your text is easy to read. Choose clear fonts and make sure the size is large enough. Avoid using too many different fonts, which can make the invitation look messy.
Time Management and Planning Ahead
Starting early is key to a smooth invitation process. Here’s a simple timeline to help you:
- 4-6 Weeks Before the Event: Begin planning your invitation design and gather your materials.
- 3-4 Weeks Before the Event: Complete your design and start printing.
- 2 Weeks Before the Event: Assemble and address the invitations. Make sure you have enough time for any corrections or reprints.
Incorporating Feedback and Revisions
Before finalizing your invitations, get feedback from friends or family. They might spot things you missed or have great suggestions. Use their input to make improvements, but keep your original vision in mind. Making small adjustments based on feedback can help ensure your invitations are perfect.
Conclusion
Creating your own party invitations has many benefits. It adds a personal touch that shows you care, saves money compared to buying pre-made invitations, and lets you be as creative as you want. You can design invitations that perfectly match your party’s theme and make them unique.
Even if you’ve never made invitations before, don’t be afraid to give it a try! With a bit of planning and attention to detail, you can create beautiful, personalized invitations that will impress your guests. So go ahead and start crafting—your efforts will make your event even more special!
Check our collection of home party decors to add a special touch to your upcoming event or celebration. Shop now and discover unique pieces that will make your occasion unforgettable!

