Halloween is the perfect time for sweet treats and festive fun. A big part of celebrating this spooky season is making sure your candy is displayed and stored in a way that’s both stylish and practical. The way you present your Halloween candy can set the mood for your party or trick-or-treating setup, making it look festive and inviting.
Proper candy storage helps keep your sweets fresh and makes it easy for guests and trick-or-treaters to grab their favorites. In this guide, we’ll share tips and ideas on how to create a candy display that’s both eye-catching and convenient. Whether you’re hosting a Halloween party or just want to make your home more festive, these suggestions will help you make the most of your Halloween candy.
1. Choosing the Right Containers
Types of Containers
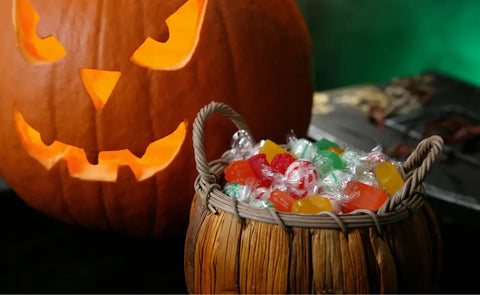
When setting up your Halloween candy display, the type of container you use can make a big difference. Here are some popular options:
- Glass Jars: These are great for showcasing colorful candies. They let you see the treats inside, which makes the display more appealing. However, they might not keep candies fresh for as long unless they have airtight lids.
- Plastic Bowls: These are practical and lightweight. They come in many sizes and colors, which can match your Halloween theme. Plastic bowls are good for larger amounts of candy but may not keep candy fresh as long as glass jars.
- Decorative Buckets: These add a fun, festive touch to your display. They often come in Halloween shapes and colors. They are ideal for holding a lot of candy and can be easily moved around.
- Candy Dispenser: These can add a playful and interactive element to your candy display. They allow guests to get a controlled amount of candy with a push or twist, keeping treats fresh, organized, and hygienic while reducing mess.
Size and Shape Considerations
Choosing the right size and shape of containers is important for both looks and practicality:
- Size: Pick containers that fit the amount of candy you have. Smaller jars or bowls work well for candy with different colors or shapes, while larger buckets are great for bulk candy.
- Shape: Consider the shape of your containers to fit your display area. Tall, slim jars are good for limited space, while wide, short bowls can hold a lot of candy and are easy for kids to access.
- Airtight Seals: For candies that need to stay fresh longer, use containers with airtight seals. This helps keep your candy from getting stale or losing its flavor, ensuring that your treats stay tasty throughout the Halloween season.
2. Creative Display Ideas
Thematic Displays
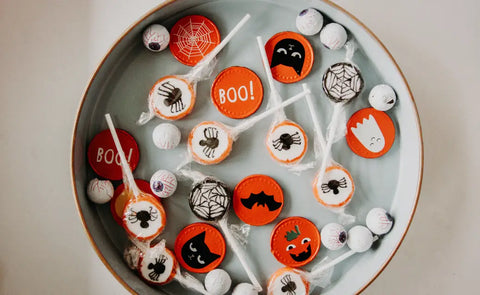
Making your candy display fit the Halloween theme can add extra fun to your decorations. Here are some creative ideas:
- Spider Webs: Use fake spider webs as a backdrop for your candy. You can drape them over your display table or around your containers. Add plastic spiders to make it extra spooky!
- Haunted Houses: Decorate your candy containers to look like haunted houses. You can use small Halloween-themed boxes or cutouts to create a mini haunted house scene. This makes your candy display both fun and spooky.
- Pumpkin-Shaped Containers: Use pumpkin-shaped bowls or jars to hold your candy. These can be made of plastic or ceramic and fit perfectly with the Halloween theme. You can also paint regular containers to look like pumpkins.
Layered Displays
Creating a multi-level display makes your candy table look more interesting and helps guests easily pick their favorite treats:
- Risers and Trays: Use risers or trays to lift some of your candy containers off the table. This adds height to your display and makes it more eye-catching. You can find risers in various shapes and sizes at party supply stores.
- Tiered Stands: A tiered stand is a great way to show off a lot of candy in a small space. It has multiple levels, so you can arrange different types of candy on each level. This not only makes it easier for guests to see all the options but also looks visually appealing.
3. Organizing Candy by Type
Sorting Strategies
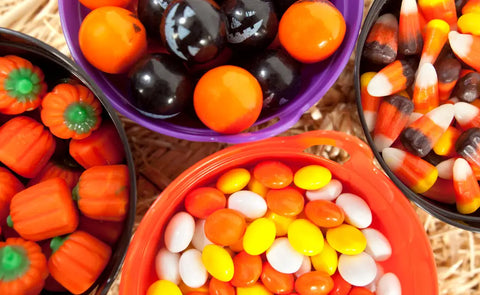
Sorting your candy by type can make your display look neat and help guests find their favorites quickly. Here’s how to do it:
- Candy Categories: Group your candy into categories like chocolates, gummies, and hard candies. This way, people can easily see and pick what they want. For example, put all the chocolate bars in one container and all the gummy candies in another.
- Use Dividers or Separate Containers: To keep your candy organized, use dividers inside your containers or have different containers for each type of candy. This keeps everything in its place and makes your display look tidy.
Labeling and Signage
Labels and signs can make it even easier for guests to find their favorite treats:
- Clear Labels: Put labels on each container to show what type of candy is inside. For example, use labels like “Chocolates,” “Gummies,” or “Hard Candies.” This way, guests don’t have to guess what’s in each container.
- Fun Signs: You can also use fun signs or decorations to point out different candy areas. For example, a sign that says “Sweet Treats” for chocolates or “Gummy Goodies” for gummy candies adds a festive touch and helps everyone find what they want.
4. Keeping Candy Fresh
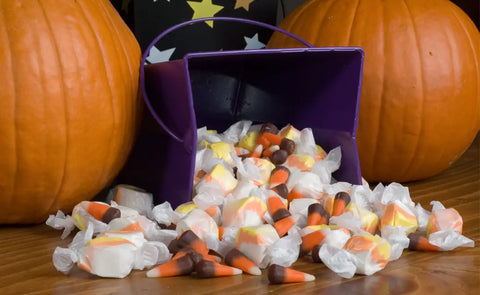
Storage Conditions
To keep your candy fresh, it’s important to store it in the right conditions:
- Temperature and Humidity: Keep your candy in a cool, dry place. Avoid storing it in areas that are too warm or humid, as this can make the candy melt or become sticky. A pantry or a cupboard away from heat sources is usually a good spot.
- Avoid Sunlight: Store your candy away from direct sunlight. Sunlight can cause the candy to lose its flavor or color, making it less appealing.
Airtight Storage
Using airtight containers or wrapping is key to keeping your candy fresh:
- Airtight Containers: Use containers with tight-fitting lids to protect your candy from moisture and air. This helps prevent the candy from becoming stale or losing its flavor.
- Wrapping: For candies that come in individual wrappers, make sure they are sealed properly. If you’re storing candies without wrappers, consider wrapping them in plastic wrap or foil before placing them in containers.
5. Displaying Candy Outdoors
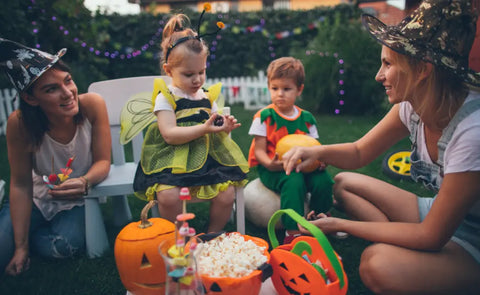
Weather-Proofing
When setting up candy displays outside, it’s important to protect your treats from the elements:
- Weather-Resistant Containers: Use containers that can handle outdoor conditions. Look for bins or jars made from materials like plastic or metal that won’t get damaged by rain or wind.
- Protective Covers: Consider using covers or lids to keep your candy safe from the weather. You can also use clear plastic wraps or bags to add an extra layer of protection.
- Enclosed Displays: If possible, set up your candy in enclosed displays or tents. This will help keep out rain and wind, making sure your treats stay fresh and dry.
Attractive Outdoor Setups
Make your outdoor candy display both fun and festive:
- Themed Decorations: Use Halloween-themed decorations, like spider webs, pumpkins, or ghosts, to create a spooky atmosphere.
- Lighting: Add some lights to your display. String lights or glowing lanterns can make your setup look even more inviting, especially as it gets dark.
6. Interactive Candy Displays
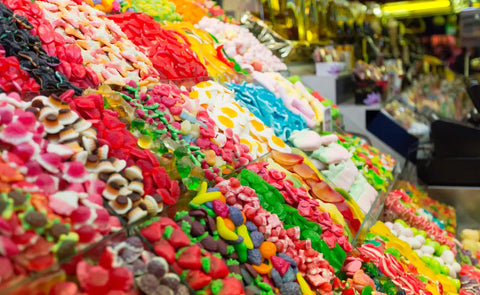
DIY Candy Stations
Create a fun candy experience with DIY candy stations where guests can choose their own treats:
- Set Up Stations: Arrange a table with various types of candy. You can use small bowls or jars for each candy type.
- Mix and Match: Provide small scoops, tongs, or spoons so guests can pick their favorite candies. Offer small bags or containers for them to take their selections home.
- Fun Touches: Add labels or signs to show what each candy is. You can also include themed decorations like mini Halloween props to make it more festive.
Candy Bar Buffets
Create a candy bar buffet where guests can customize their candy choices:
- Variety of Candies: Offer a range of candies and toppings, like chocolate chips, sprinkles, and marshmallows. This lets guests mix and match to create their perfect treat.
- Easy Access: Arrange the candies and toppings in a way that’s easy to reach. Use trays or stands to keep everything organized and visible.
- Visual Appeal: Decorate the buffet table with Halloween-themed items, like pumpkins or cobwebs. Adding colorful containers can also make the display look more exciting.
7. Ensuring Candy Safety
Food Safety Tips
To keep your candy safe and clean, follow these simple practices:
- Keep Candy Covered: Always cover your candy to protect it from dust and germs. Use lids or plastic wrap to keep it clean.
- Check for Spoilage: Regularly look at your candy to make sure it hasn’t gone bad. If you see any signs of spoilage, like changes in color or texture, throw it away.
- Use Clean Hands and Utensils: When handling candy, make sure your hands and any utensils are clean. This helps prevent spreading germs.
Allergen Information
If you’re serving candy to a group, it’s important to consider allergies:
- Provide Allergen Information: Clearly label your candy with any common allergens, like nuts or dairy, so everyone knows what’s in each treat.
- Use Warning Signs: Place signs near your candy with allergen warnings. This helps guests with allergies avoid any treats that might cause them problems.
8. Recycling and Eco-Friendly Options
Sustainable Containers
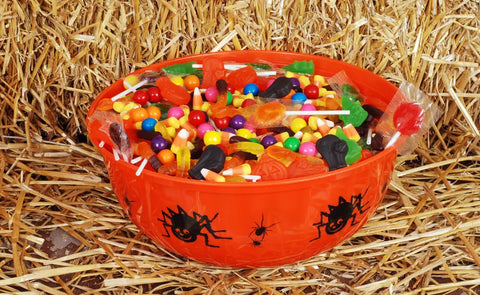
- Choose Eco-Friendly Containers: Opt for containers that are reusable or recyclable. Glass jars, metal tins, and biodegradable boxes are great choices. They help reduce waste and are better for the environment compared to single-use plastic containers.
- Benefits of Reusable Materials: Using materials like glass or metal not only helps the planet but also adds a stylish touch to your candy display. Plus, these containers can be used again for other purposes after Halloween.
Reducing Waste
- Offer Portion-Controlled Options: To avoid wasting candy, provide small, pre-portioned bags or bowls. This way, guests only take what they can eat, reducing the chance of leftover treats.
- Repurpose Leftover Candy: If you have leftover candy, get creative! You can use it in baking recipes, like cookies or brownies, or donate it to local charities. Repurposing leftover candy is a fun way to avoid waste and make the most of your treats.
9. Seasonal Candy Storage
Storing Leftover Halloween Candy
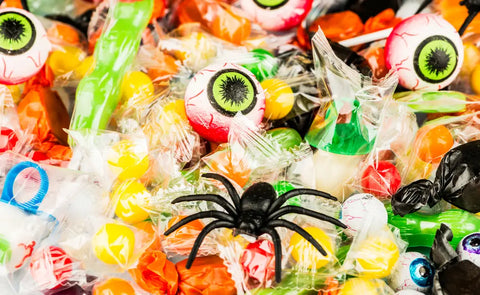
- Proper Packaging: To keep leftover Halloween candy fresh, store it in airtight containers or resealable bags. This helps prevent the candy from becoming stale or losing its flavor.
- Label and Track: Don’t forget to label the containers with the date you stored the candy. This way, you can keep track of when it expires and use it before it goes bad.
Transitioning to Holiday Candy
- Using Leftovers: If you have leftover Halloween candy, you can use it in holiday recipes or crafts. For example, chop up the candy and add it to cookies or cakes for a festive touch.
- Incorporate into Holiday Treats: Plan ahead by thinking of ways to incorporate your leftover candy into holiday treats or decorations. This way, you’re not only making the most of your candy but also creating something special for the upcoming season.
10. Budget-Friendly Candy Display Solutions
DIY Display Ideas
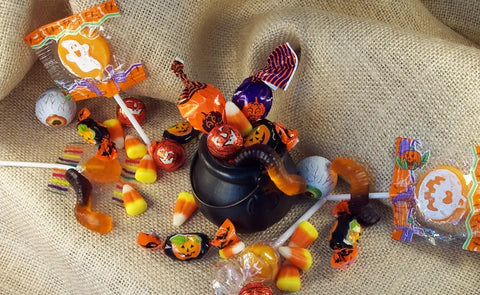
- Easy DIY Displays: You can create candy displays using items you already have at home. For example, use empty jars or old bowls to hold candy. You can also use cardboard or paper to make your decorations. Try covering boxes with festive wrapping paper to make them look like special candy containers.
- Step-by-Step Instructions: To make a simple candy display, start by finding a container like a glass jar or a small basket. Decorate it with stickers, ribbon, or paint. Fill it with your favorite candy and place it where guests can easily see it. This way, you can have a fun and attractive display without spending a lot of money.
Maximizing Impact
- Creative Arrangements: Arrange your candy in a way that catches the eye. Use different heights by stacking boxes or jars on top of each other to create a tiered effect. You can also mix and match colors and shapes to make the display more interesting.
- Repurpose Items: Look around your house for items you can reuse. For example, old picture frames can be turned into signs for your candy display. Repurposing items from previous celebrations or other decorations can help you save money while still making your candy display look amazing.
Conclusion
To make your Halloween candy display and storage both fun and practical, remember these key points:
- Choose the Right Containers: Use different types of containers like glass jars, plastic bowls, or decorative buckets. Pick sizes and shapes that fit your candy and keep it fresh.
- Get Creative with Displays: Use Halloween themes and multi-level setups to make your candy stand out. Think about using spider webs or pumpkin-shaped containers.
- Organize by Type: Sort your candy into categories and label them. This makes it easier for guests to find their favorite treats.
- Keep Candy Fresh: Store candy in cool, dry places and use airtight containers to keep it fresh.
- Outdoor Displays: Use weather-proof containers and decorations to protect your candy if you’re displaying it outside.
- Interactive Stations: Set up candy stations where guests can pick and mix their treats. A candy buffet is another fun idea.
- Ensure Safety: Keep candy covered and handle it with clean hands. Label candies with allergen information to keep everyone safe.
- Go Green: Use eco-friendly containers and try to reduce waste by offering portion-controlled options. Think about recycling leftover candy.
- Seasonal Storage: Store leftover Halloween candy properly and think about how to use it for other holidays or recipes.
- Budget-Friendly Solutions: Get creative with DIY displays and use what you already have to save money.
Now that you have these tips, put them into action! Create a candy display that’s both eye-catching and practical. Have fun setting up and enjoy the festive atmosphere of Halloween. Your well-organized and creative candy setup will make your celebration even more memorable.
Check our collection of home party decors to add a special touch to your upcoming event or celebration. Shop now and discover unique pieces that will make your occasion unforgettable!


